
How to Use AI Tools for Video Editing
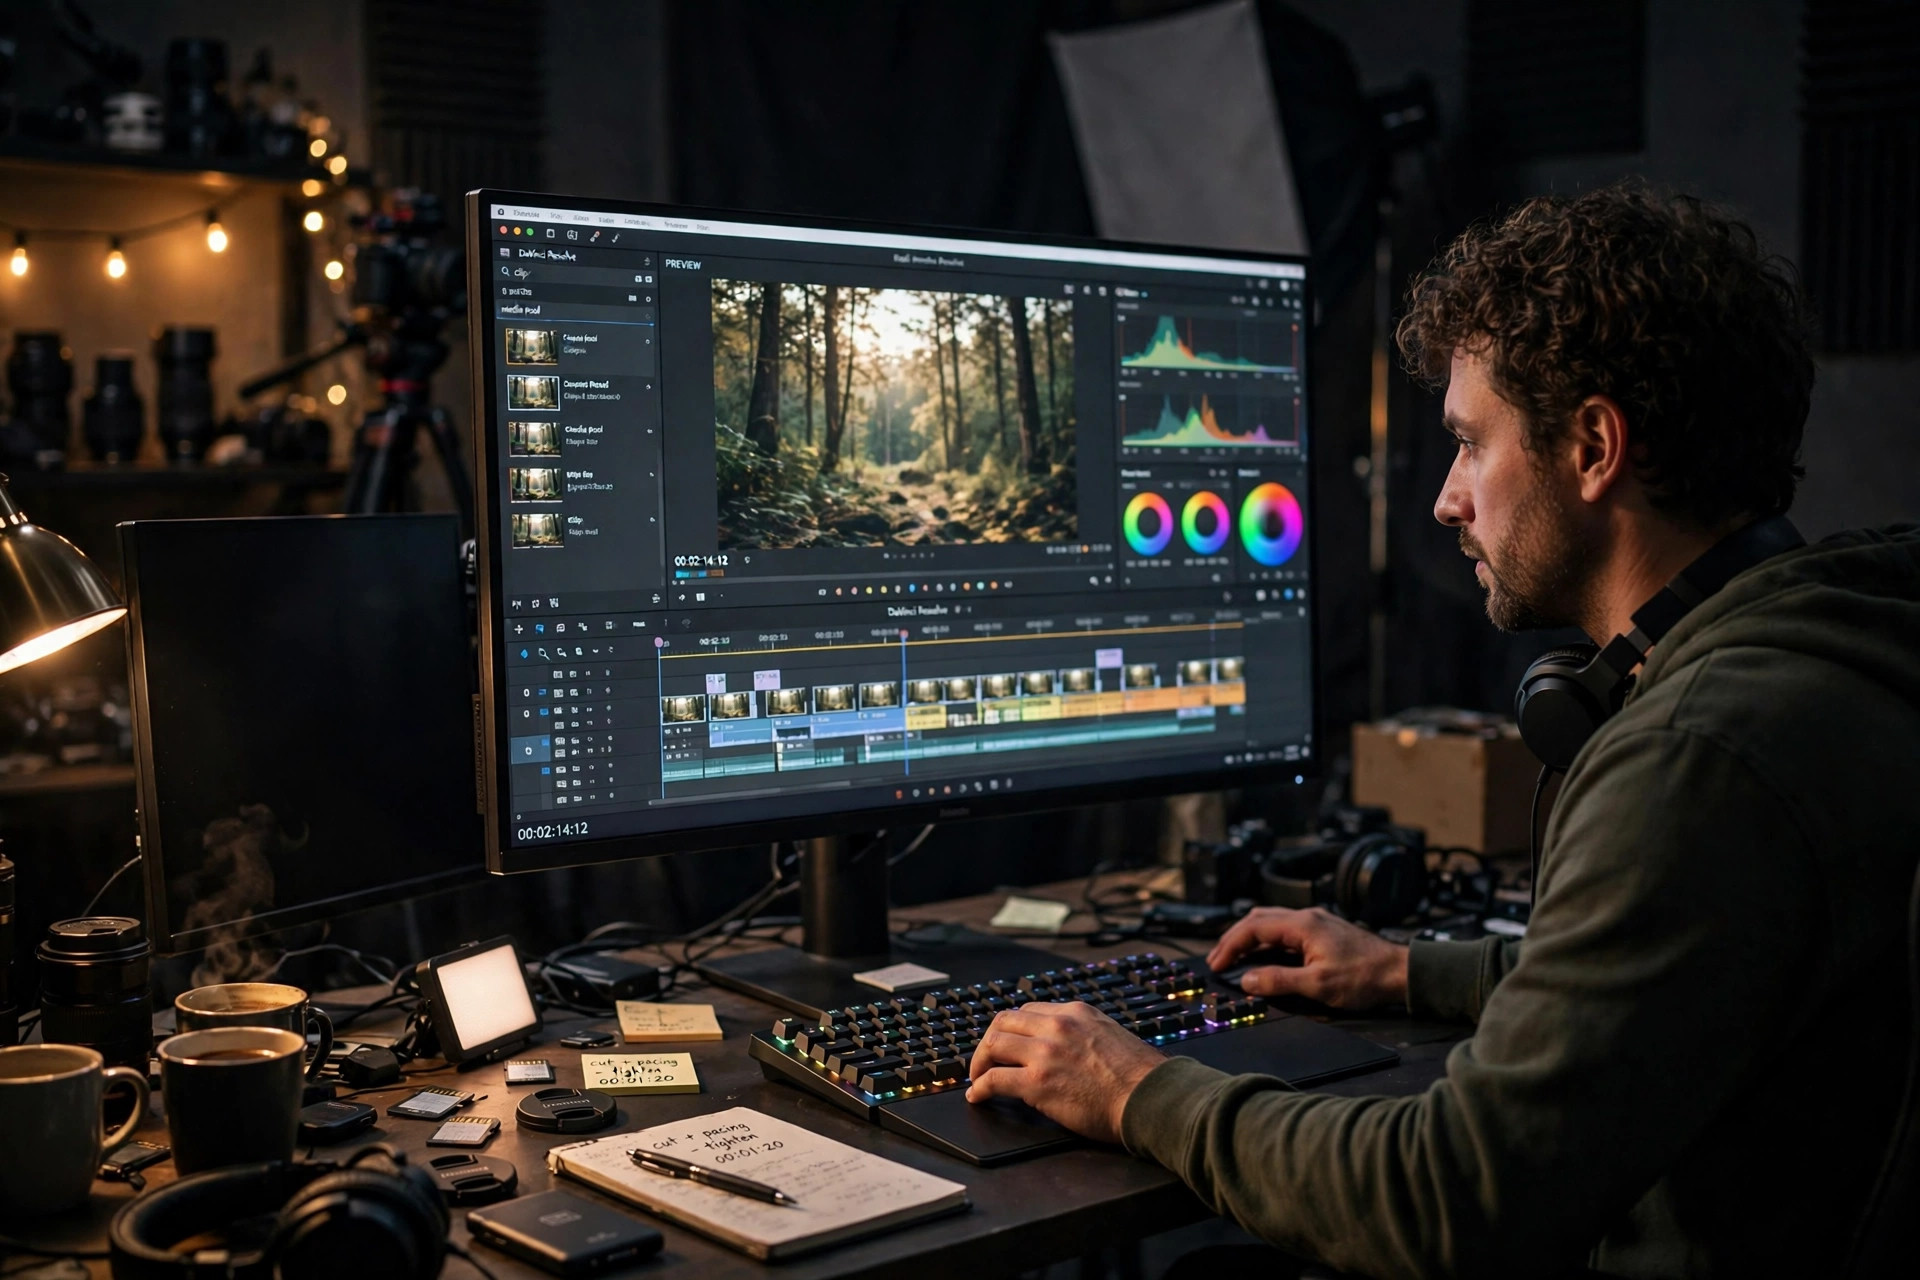
Video editing used to be the slowest part of making a video. For every minute of finished footage, a creator could spend an hour or more cutting silences, syncing audio, adding captions and hunting for the right clip. That is why AI video editing tools have become some of the most popular AI tools of all: they do the tedious parts in minutes — finding the good moments, removing the filler words, adding captions, reframing a wide shot for a phone screen — and leave the creative decisions to you. The tools are genuinely powerful, and genuinely easy to misuse: they can turn a two-hour recording into a week of short clips in an afternoon, and they can also cut out the sentence that made the whole point, add a caption that mishears a name, or produce a clip that is technically perfect and completely unwatchable. This guide shows how to use AI tools for video editing properly: which kind of tool fits which job, how to prepare your footage so the AI has something to work with, how to let the AI make the first cut without letting it make the final decisions, and how to export a finished video that looks like you made it on purpose.
What AI video editing tools actually do — and what they do not
There are four different kinds of tool hiding under the label "AI video editing", and most disappointment comes from using the wrong kind for the job. Full editors, such as CapCut and Kapwing, are complete timelines with AI features built in: auto-captions, silence removal, background removal and templates. They are best when you want to edit a video from start to finish in one place. Transcript editors, such as Descript, turn your video into a written transcript and let you edit the video by editing the text — delete a sentence from the transcript and it disappears from the video. They are best for talking-head videos, podcasts and tutorials, where the words are the video. Clip finders, such as Opus Clip and Wisecut, watch a long recording, find the strongest moments, and cut them into short vertical clips with captions — the fastest way to turn one long video into a week of short-form posts. And generators, such as Runway, InVideo, Pictory, Fliki and Lumen5, create footage from a text prompt or turn a script into a finished video with stock clips and a voiceover. They are best when you have no footage at all and need a video made from words. Our guide on how to use AI video generators covers that last group in depth; this guide focuses on editing real footage with AI help.
None of these tools understands your video the way you do. They detect energy, pauses and keywords; they do not detect meaning. An AI clip finder will pick the loudest, most energetic thirty seconds of a podcast — which is not always the thirty seconds that makes sense without the five minutes before it. An auto-caption tool will mishear a name, a brand or a technical term, and a silence remover will cut the pause that was doing the work — the beat before a punchline, the moment a speaker lets an idea land. The rule that runs through this whole guide is simple: the AI makes the first cut, you make the final cut. Your judgement — what the video is actually about, which moment matters, whether a cut feels honest — is the part of editing that cannot be outsourced.
Step 1: Decide what kind of video you are making before you open an editor
Most people open an AI editor, upload a recording, and ask it to "make this good". The tool is not the problem; the brief is. Before you edit anything, answer three questions in one short paragraph each. First, who is the video for, and where will they watch it: a vertical short watched on a phone with the sound off is a different video from a ten-minute tutorial watched on a laptop with headphones. Second, what should the viewer do or feel when it ends: learn a skill, laugh, click a link, subscribe — pick one, because a video that tries to do everything does none of them well. Third, how long should it be: the honest answer for a short is 30 to 60 seconds, and for a tutorial it is as short as the lesson allows, not as long as the recording runs. A clear answer changes every decision after it, because the tool you pick, the clips you keep and the captions you add all follow from the format — and an AI that does not know the format will give you a bit of everything and none of it well.
Then decide how much of the video already exists. If you have a recording — a podcast, a webinar, a talking-head video, a screen recording — you need an editor or a clip finder, not a generator. If you have only a script and no footage, you need a generator such as Pictory or Fliki, which builds the video from stock footage and a voiceover. If you have a mix — some real footage and some gaps — use the editor for the real footage and a generator only for the shots you could not film, such as a product shot or a background scene. Mixing the two without a plan is how videos end up looking inconsistent: one minute of real footage, one minute of glossy AI footage, and no reason for the change. Pick the format first, then the tool.
Step 2: Pick the right tool for the job
Start free. Most of the tools below have a free plan or free credits, and a week of free use on your real footage teaches you more than any comparison article. Prices change often, so always check the official pricing page before paying. Prices here were checked in November 2026.
If you edit short video for social media, start with CapCut. It is the default editor for Reels, TikTok and Shorts: a full timeline on phone, desktop and web, with auto-captions, templates, trending effects and a free plan that covers most everyday editing, including clean 1080p exports without a watermark as long as you avoid Pro-locked templates and effects. Paid plans start at around $19.99 a month on the web for Pro, which unlocks 4K and HDR export, the full AI toolkit and 1 TB of cloud storage — though the price you see can vary by region and by app store, so check your own upgrade screen. Kapwing is the browser-based alternative, useful when you edit on a shared or low-powered computer, with paid plans from around $16 a month. Between the two, CapCut suits phone-first creators who edit daily, while Kapwing suits teams who need to edit in a browser and share projects with a link.
If your video is mostly talking, Descript is the tool that changes the job most. You upload a recording, it transcribes it, and you edit by deleting words from the transcript — removing every "um" in a ten-minute video takes seconds instead of an hour of scrubbing a timeline. It also has Studio Sound, which cleans up echoey room audio, and an eye-contact feature that adjusts your gaze to the camera. The free plan costs $0 and includes 60 media minutes a month and 100 one-time AI credits, with 720p exports that carry a watermark; paid plans start at $24 a month ($16 billed yearly) for Hobbyist and $35 a month ($24 billed yearly) for Creator, with more media hours, monthly AI credits and watermark-free 4K export. The catch is the meter: you pay in media hours and AI credits, so a long recording costs more than a short one, and the AI features burn credits fast — check what a real week of your footage costs before committing.
For turning long videos into short clips, use a clip finder. Opus Clip takes a podcast, webinar or long YouTube video and cuts it into vertical clips with animated captions, a virality score for each clip, and automatic reframing so the speaker stays in frame. Its free plan costs $0 and includes 60 processing credits a month — one credit is one minute of source video, so 60 credits covers about an hour of footage — with a watermark and clips that stop being exportable after three days. Paid plans start at $15 a month for Starter (150 credits, no watermark) and $29 a month for Pro (300 credits, all aspect ratios, a scheduler), or about $14.50 a month billed yearly. Wisecut does a similar job with a different emphasis: it cuts silences, adds background music that ducks under speech, and generates subtitles, which makes it a good fit for vlogs and talking-head videos where the pacing matters more than the clip count. And when you have no footage at all, Runway generates video from text or image prompts — its free plan includes 125 one-time credits, and paid plans start at $15 a month ($12 billed yearly) for Standard, with 625 credits a month, enough for roughly 52 seconds of its flagship Gen-4.5 model. Most creators end up with two tools: one full editor for the main edit, and one specialist — a transcript editor or a clip finder — for the job they do most often.
Step 3: Prepare your footage so the AI has something to work with
AI editing tools are only as good as the recording you feed them, and the most common reason an AI edit looks bad is not the tool — it is the footage. Before you upload anything, do three checks that take ten minutes and save hours later. First, listen to the audio. AI transcription, silence detection and clip scoring all depend on clear speech: if the audio is muffled, echoey or drowned in background noise, the transcript will be wrong, the silences will be misjudged and the clips will be chosen for the wrong reasons. Record in a quiet room, close to the microphone, and if the audio is already recorded, clean it first — Adobe Podcast can enhance a rough recording, and Auphonic levels volume and removes noise automatically. Second, shoot with the final format in mind. If the video will end up vertical, frame the speaker in the centre of a wide shot with space around them, so the auto-reframe has room to crop without cutting off a hand or a chin. Third, keep the raw recording. AI tools compress and re-encode what you upload; if the tool makes a mistake, you want the original file to go back to, not a degraded copy of a copy.
Then organise before you edit. Split a long recording into its natural sections — introduction, main points, conclusion — and name the files clearly, because an AI clip finder will hand you twenty clips named clip-01 to clip-20 and you will not remember which is which. Write down the one or two moments you already know are the best: the story, the surprising claim, the line that got a laugh. Tell the tool to look for them — "find the part where I tell the story about the failed launch" is a better instruction than "find the best moments" — and check whether the AI found them. If it did not, the problem is usually the recording: a moment that is clear to you may be buried under a tangent or a long pause that the AI read as dead air. A short note to yourself about what matters in the footage is worth more than any feature, because it is the only thing the AI cannot guess.
Step 4: Let the AI make the first cut — then edit like a human
Run the AI pass first and treat its output as a rough cut, not a finished video. In Descript, that means transcribing the recording, deleting the filler words and false starts from the transcript, and then reading the transcript through once before you export — because a deleted word in the transcript is a deleted moment in the video, and the AI will happily delete a sentence that was the setup for the next joke. In CapCut, it means using auto-captions and silence removal, then watching the result at full speed: the AI removes silences by a threshold, and a threshold does not know the difference between a dead pause and a dramatic one. In Opus Clip, it means reading every clip the tool suggests before you post any of them — the virality score measures energy and topic, not truth, and a high-scoring clip that starts mid-sentence will confuse anyone who has not seen the full video.
After the AI pass, do the human pass, and do it in order. First, watch the whole video once without touching anything, and write down every moment that feels wrong: a cut that lands mid-word, a caption that misspells a name, a clip that ends before the point lands. Fix those before you add anything new, because a polished video with a broken cut is still a broken video. Second, check the beginning and the end, which is where most viewers decide whether to stay. The first three seconds should show or say the thing the video is about — not a logo, not an introduction, not a slow fade-in. The last five seconds should end on the point, not trail off into silence. Third, add the human touches the AI cannot: a brief on-screen text that names the key idea, a cutaway to the thing you are describing, a pause you deliberately keep because the idea needs room. If a sentence is wrong, do not just ask the AI to try again — rewrite it yourself, with the correct fact and the correct words, and paste it back in. Some edits are genuinely faster by hand, and recognising them is a skill, not a defeat. Our guide on how to write better prompts for AI tools applies here too: a specific instruction with a real example beats a vague one every time.
Step 5: Captions, sound and the finishing touches
Captions are the single highest-impact finishing step in AI video editing, and the one most people rush. Most people watch short video with the sound off, so a video without captions loses most of its audience in the first seconds — and a video with wrong captions loses them for a different reason. Auto-captions from CapCut, Descript or Opus Clip are fast and usually 90% right, which is not good enough to publish: read every caption, fix every name, brand, number and technical term, and check the timing on any caption that appears while two people are talking. Keep the captions short — one or two lines at a time, a few words per line — because a wall of text on a phone screen is unreadable, and highlight the key word in each caption if the tool supports it, which is what makes a viewer keep reading. The same rule applies to any text the AI generates on screen: never let it render a title, a price or a quote as part of an image, because AI-rendered text misspells words; add the words yourself in the editor, where they are real text you control.
Then fix the sound, which is the part viewers notice only when it is wrong. Level the volume so the quietest and loudest parts are close together — Auphonic does this automatically — and remove background hum, echo and mouth clicks before you add music, not after, because music hides problems instead of fixing them. If you add music, pick one track, keep it low under speech, and use the same track across a series so your videos sound like they belong together. And check the audio on a phone speaker, not just on headphones: most of your audience will hear the video through a phone, and a mix that sounds rich on headphones can sound muddy or harsh on a small speaker. Finally, keep one visual rule for the whole video: the same colours, the same caption style, the same framing, from the first second to the last. Consistency is what makes a video look professional, and it costs nothing — it is just the decision to use the same settings every time.
Step 6: Export right for where the video will live
The last step is the one where the most good edits are quietly ruined, because the export settings do not match the platform. Before you export, check three things. First, the aspect ratio: 9:16 vertical for Reels, TikTok and Shorts, 16:9 horizontal for YouTube, and 1:1 square only if the platform asks for it. Exporting a horizontal video and letting the platform crop it is how speakers end up with half a face, and exporting a vertical video for YouTube is how you end up with black bars on both sides. Second, the resolution and frame rate: 1080p at 30 frames per second is the safe default for almost everything, and it is what the free plans of most tools include — 4K is worth paying for only when the video will be watched on a large screen or heavily cropped, and a higher frame rate only matters for fast movement such as sport. Third, the file itself: watch the exported file from start to finish before you upload it, on the device your audience will use. The preview inside the editor is not the export, and compression, captions and audio can all change between the two. If the export is wrong, fix the project and export again — re-uploading a corrected video is free, but a published video with a broken caption stays broken until you notice it.
Keep the project file, not just the exported video. AI tools change their plans, their features and their credit rules often, and a project you can reopen is a video you can fix, re-export or repurpose next month without starting over. Save the captions file too, if the tool lets you export one, because the same captions can be reused when the video goes to a second platform. And name your exports clearly — topic, platform, date — because a folder full of files called final-final-v2.mp4 is a folder you will never find anything in again. The export is not the end of the edit; it is the moment the edit becomes something other people can watch, and it deserves the same care as the cut.
Common pitfalls, honestly stated
The most common mistake is publishing the AI's first cut without watching it. It looks finished because it is formatted, captioned and paced, but formatting is not judgement — the tool's default settings flatter weak material, and a clip that is technically clean can still be boring, misleading or out of order. The second mistake is trusting the transcript. Auto-transcription mishears names, numbers and accents, and a caption that says the wrong price or the wrong name is a factual error that your audience will screenshot. Read every word. The third pitfall is the credit trap. Most AI video tools charge by the minute, the credit or the media hour, and a month of daily editing can burn through a month's allowance in two weeks: Opus Clip charges one credit per minute of source video, Descript meters both media hours and AI credits, and Runway charges per second of generated video. Start free, track what a real week costs, and pay only when a limit actually slows you down.
The fourth pitfall is the uncanny cut. AI silence removal and clip finders work by rules, and rules produce edits no human would make: a sentence cut off mid-word, a laugh removed because it registered as noise, a reaction shot cut because the speaker was not talking. Watch the whole video at full speed before you publish — scrubbing through it at double speed will not catch a bad cut. The fifth is the generated-footage trap. AI-generated clips from tools such as Runway can look stunning for a few seconds and fall apart on a longer look: hands, text, faces and physics all drift, and a viewer who notices will stop trusting the rest of the video. Use generated footage for backgrounds, B-roll and shots you could not film, and real footage for people, products and anything the viewer needs to believe. Finally, remember the disclosure rules. Several platforms now label AI-generated video, and some regions require AI-generated content to be identified — check your platform's current rules before you post, and when in doubt, say so. Honesty about AI use costs nothing and buys trust.
Frequently asked questions
What is the best AI tool for video editing? There is no single best one; it depends on what you edit most. CapCut is the strongest choice for short social video, because it is a full editor with auto-captions and templates on a free plan. Descript is the best fit if your videos are mostly talking, because editing the transcript is faster than editing a timeline. Opus Clip is the best fit if you want to turn long recordings into short clips. Runway is the best fit if you need to generate footage you cannot film. Start with the free plans of two of them and let a week of real editing decide.
Are AI video editing tools free? You can start free on several of them. CapCut has a free plan with 1080p exports, Descript has a free plan with 60 media minutes a month, and Opus Clip has a free plan with 60 processing credits a month. The limits are real, though: free exports can carry a watermark, free credits do not renew in some tools, and 4K export usually needs a paid plan. Always check the official pricing page before paying, because plans and allowances change often.
Can AI edit a video completely on its own? It can do most of the mechanical work — cutting silences, finding clips, adding captions, reframing for vertical — but it cannot edit a video on its own, and it should not. The parts that make a video good are human: knowing what the video is about, which moment matters, whether a cut feels honest, and whether the beginning earns the viewer's attention. The videos that do best treat AI as a fast assistant that makes the first cut, with a human watching the whole thing and making the final decisions.
How do I stop AI captions from being wrong? Read every caption before you export, and fix every name, brand, number and technical term by hand — those are the words auto-caption tools mishear most. Keep captions to one or two short lines at a time, check the timing where two people talk over each other, and watch the exported video once with the sound off: if you can follow the whole video from the captions alone, they are good enough. If you cannot, they are not.
How long does AI video editing take compared with manual editing? The AI pass is fast — transcribing, cutting silences or finding clips usually takes minutes, not hours — but the human pass is where the time still goes. A ten-minute talking-head video might take an hour to edit well with AI help, against several hours by hand, and a batch of short clips from a long recording might take an afternoon instead of a day. The saving is real, but it is a saving of the tedious half of the job, not the whole job: watching, judging and fixing still take as long as they always did.
Will AI editing make my videos look generic? Only if you publish the default output. The defaults — the same caption style, the same transitions, the same music — are the same for everyone, and viewers learn to recognise them. The fix is the same as with any tool: keep one consistent style that is yours, add the details only you would know, and cut at least one thing the AI suggested that you disagree with. The edit is where the voice comes from, not the generation.
Start with one video you already have and one tool that fits it — a talking-head video in Descript, a short in CapCut, a long recording in Opus Clip — and let the AI make the first cut. Watch the whole thing, fix the captions by hand, keep the pauses that matter, and export it for the platform it will actually live on. Then do it again next week, and the week after, with the same style and the same checks. Do that for a month and the tools stop being a novelty and start being what they are best at: a fast, tireless assistant that does the tedious half of editing, while you stay the person who decides what the video is actually about.
More tools to explore
ChatGPT
A general AI assistant for writing, brainstorming, explanation, analysis and everyday problem solving.
CLClaude
An AI collaborator suited to long documents, complex reasoning, first drafts and multi-step project work.
PXPerplexity
An answer and research tool built around web discovery, synthesis and source-backed exploration.
MJMidjourney
A generative image platform for concept art, visual exploration and polished creative imagery.